React Project Structure Explained: Complete Beginner's Guide
Understand the structure of a React project, how components interact, and the flow of data through a React application.
Setting up a react project is a matter of running a single command “npm create vite@latest” as we saw in the previous article. But understanding it can feel quite intimidating at first,
So in today’s article we’re going to explore the folder structure of a basic react project.
Project Structure Overview
I’m inside the directory of a newly created Vite React project called hello-world.
As you can see, it contains 3 main folders: public, node_modules, and src. In addition to that, it also includes various configuration files.
Configuration Files
.gitignore
The .gitignore file is used to tell git which files and directories should be ignored.
# All the directories or files listed below will be ignored by git
node_modules
dist
dist-ssr
*.local
package.json
The package.json file lists all the dependencies of the project, and the available scripts which we can run on the terminal like pnpm run dev that starts our development server
{
 "name": "hello-world",
 "private": true,
 "version": "0.0.0",
 "type": "module",
 "scripts": {
   "dev": "vite",
   "build": "tsc && vite build",
   "preview": "vite preview"
 },
 "devDependencies": {
   "typescript": "~5.8.3",
   "vite": "^6.3.5"
 }
}
node_modules
So If the package.json file is only listing the dependencies, the node_modules folder is the actual incubator of those dependencies.
All the third party packages code resides here. It’s also known as the black hole folder in javascript’s memes literature because it takes a lot of disk space. So always double check if it’s present in your .gitignore file.

Application Entry Point
index.html
The index.html file is the entry point of the application, it’s defining the main html layout or template of all the pages that are served.
<!doctype html>
<html lang="en">
  <head>
    <meta charset="UTF-8" />
    <link rel="icon" type="image/svg+xml" href="/vite.svg" />
    <meta name="viewport" content="width=device-width, initial-scale=1.0" />
    <title>Vite + TS</title>
  </head>
  <body>
    <div id="app"></div>
    <script type="module" src="/src/main.ts"></script>
  </body>
</html>
Inside the head tag we are using the /vite.svg file as a favicon, If you look closely you’ll find out that it’s inside the public folder.
So any static asset like an image, article and so on… can be publicly served and accessed in any location in our code starting with the / character followed by the path relative to the public folder.
The body of the index.html contains a script tag that imports the main.tsx file located within the src directory.
Source Code Directory
The src folder
The src folder holds all of our application’s typescript code including react components, their corresponding style sheets…
main.tsx - The React Entry Point
import { StrictMode } from 'react'
import { createRoot } from 'react-dom/client'
import './index.css'
import App from './App.tsx'

createRoot(document.getElementById('root')!).render(
  <StrictMode>
    <App />
  </StrictMode>,
)
In the main.tsx, we are retrieving the corresponding DOM element of the div whose id is equal to root using the document.getElementById('') method, then we pass it to the createRoot which is function imported from react-dom/client to create our application’s root react component.
After that we use its render method to render The <App/> component that contains all of our application code.
Note that its wrapped within a StrictMode component for debugging purposes.
App.tsx contain an example counter component called App, you can think of it as the entry point or the parent of all other components that you’ll probably create later.
Development Server and Testing
Run npm or pnpm run dev to start the development server, open your browser then head straight to http://localhost:5173.
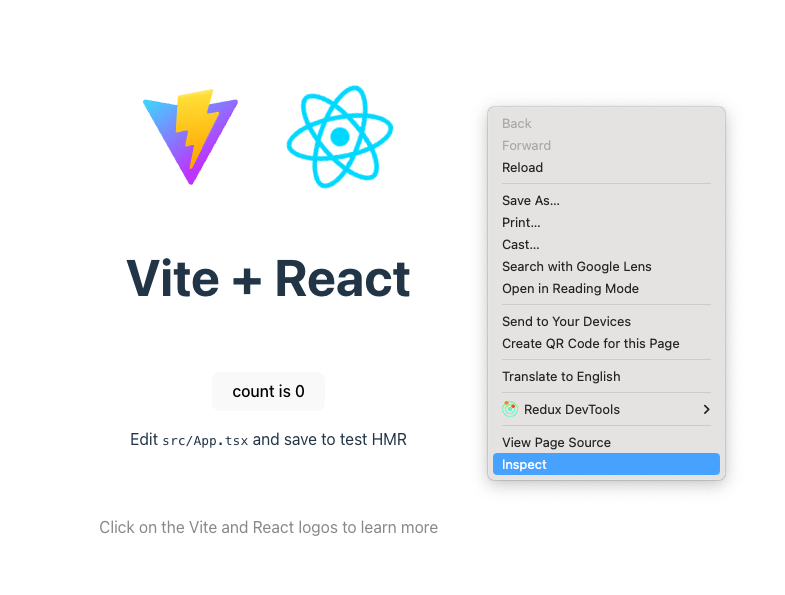
Once you do so, you’ll stumbel upon this page.

Feel free to play around with the counter example, its scientifically impossible to resist the temptation of incrementing the counter 😄.
Now, to confirm that the main.tsx file is really injecting the App component inside the div whose id is equal to root, let’s inspect the page.

As expected, if you look closely you will notice that all the html of our counter example app was appended inside the div whose id is equal to root.
TypeScript Configuration
More over, we have these three tsconfig files that customize the typescript type checking experience according to our preferences, for either the backend side (aka NodeJs side) or the frontend side of the app.
Vite Configuration
vite.config.ts
Finally, the vite.config.ts file defines the default configuration object that can be modified to customize the default vite’s behavior.
As vite is working with most of the frameworks out there we had to pass the React SWC plugin to finetune the build process to work with react.
import { defineConfig } from 'vite'
import react from '@vitejs/plugin-react-swc'

// https://vite.dev/config/
export default defineConfig({
  plugins: [react()],
})
Conclusion
I hope that the big picture of a React project structure is clarified, In the next article we will be creating our first React component.
Thank you for reading and happy coding.